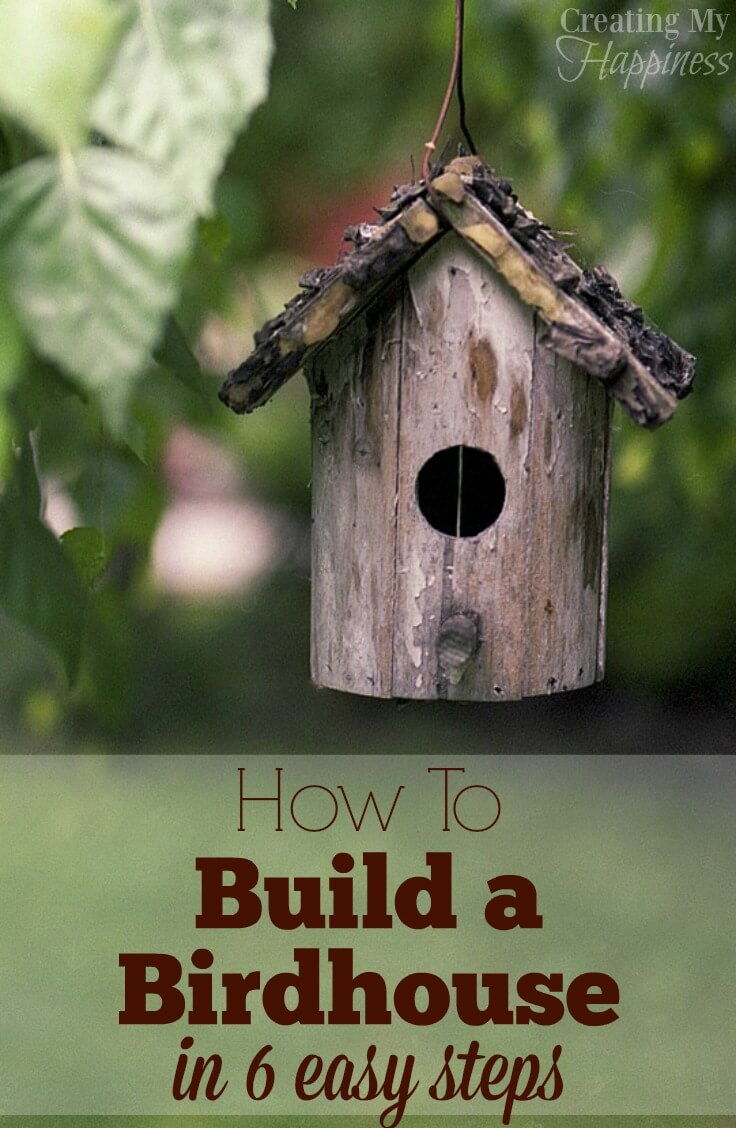
Build Your Own Wooden Birdhouse: A Step-by-Step Guide
Welcome to the wonderful world of birdhouse building! This step-by-step guide will walk you through the process of constructing your own charming and functional home for feathered friends. Whether you’re a seasoned woodworker or just starting out, this project offers a rewarding experience and a chance to connect with nature. Let’s get started!
Gathering Your Materials and Tools
Before you dive into the building process, gather the necessary materials and tools. Here’s what you’ll need:
Materials:
- Wood: Choose a durable and rot-resistant wood like cedar, redwood, or pine. You’ll need boards for the base, roof, sides, and front.
- Screws: Use wood screws that are long enough to secure the pieces together but not so long that they protrude through the other side.
- Paint or Stain: Opt for non-toxic, bird-safe paints or stains to add a touch of color and protection.
- Entry Hole: You can purchase pre-cut entry holes or create your own using a drill bit and jigsaw.
- Roof Shingles: (optional) For a more aesthetically pleasing roof, choose durable shingles like asphalt or cedar shakes.
Tools:
- Saw: A circular saw, jigsaw, or handsaw for cutting the wood to size.
- Drill: For pilot holes and attaching screws.
- Screwdriver: To tighten the screws.
- Measuring Tape: To ensure accurate dimensions.
- Pencil: For marking the wood.
- Sandpaper: For smoothing out rough edges and creating a polished finish.
Constructing the Birdhouse Base and Sides
Now, let’s start with the base. Cut two pieces of wood to the desired length and width for the bottom of the birdhouse. Mark and cut four side pieces that are tall enough to accommodate the roof. Be sure to consider the entrance hole height when calculating the side piece lengths. Use screws to attach the sides to the base, creating a sturdy box shape.
Creating the Entrance Hole
Choose a size for the entrance hole that is appropriate for the bird species you want to attract. For example, a 1 ½ inch diameter hole is suitable for chickadees and nuthatches. Mark the location and shape of the hole on the front panel. If you’re using a pre-cut entrance hole, simply attach it to the front panel. Otherwise, use a drill and jigsaw to carefully create the hole.
Building the Roof and Adding the Shingles (optional)
Cut two pieces of wood for the roof, making them slightly wider than the base. The slope of the roof will be determined by the angle at which the pieces of wood are attached. Create a slight overhang for the roof by cutting the top edges of the roof pieces at an angle. Use screws to attach the roof pieces to the top of the side panels. Secure the shingles to the roof using glue or roofing nails. If you choose not to add shingles, simply paint or stain the roof boards.
Finishing Touches and Installation
Now, take a moment to admire your handcrafted masterpiece. Before installing the birdhouse, sand any rough edges to ensure the birds won't get hurt. Apply paint or stain, making sure to use bird-safe products. You can even add decorative details like a small birdhouse sign or a perch.
Locate a spot for your birdhouse that offers protection from the elements and predators. It's important to position the entrance hole away from prevailing winds and rain. Mount the birdhouse securely to a tree, post, or fence using screws or brackets. Be sure to follow any local regulations or guidelines for installing birdhouses.
Enjoy Your Birdhouse
Congratulations! You’ve created a wonderful home for feathered friends. Now, sit back and enjoy watching your new tenants flit in and out of their new abode. You may even be fortunate enough to witness the hatching of chicks and the raising of a new generation of birds. The joy of birdwatching and the rewarding experience of building your own birdhouse will bring you endless satisfaction.

0 comments:
Post a Comment