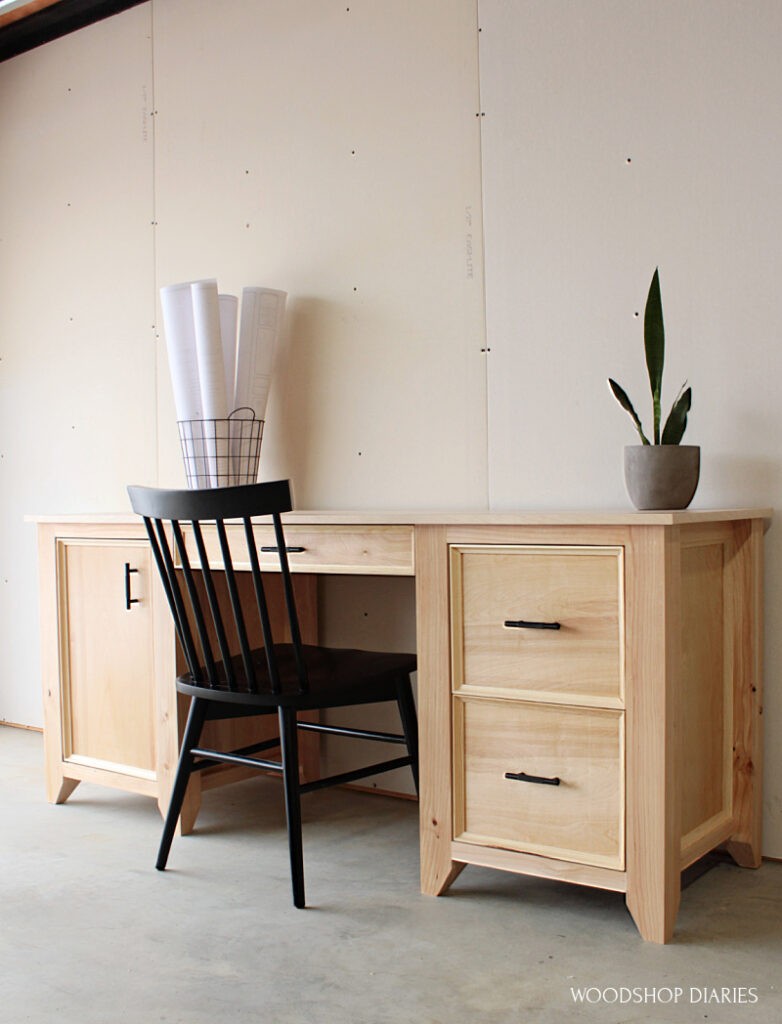
Building a Whimsical Wooden Desk for Your Little Ones
Building a wooden desk for your kids doesn’t have to be a tedious chore. Infuse your creativity and let your imagination run wild as you build a desk that's both functional and fun! With a little time and effort, you can create a unique piece of furniture that'll spark joy and creativity in your child’s room.
Gather Your Supplies
Before you dive into the building process, make sure you have all the necessary materials:
- Wooden planks (pine, plywood, or MDF are good choices)
- Wood glue
- Wood screws
- Saw (circular saw, jigsaw, or hand saw)
- Drill
- Sandpaper (various grits)
- Measuring tape
- Pencil
- Clamps
- Paint or stain (optional)
- Finishing oil or wax (optional)
- Safety glasses and gloves
Designing Your Desk
The fun begins with design! Let your child’s imagination guide you. Do they love dinosaurs? Maybe create a desk with dinosaur legs or incorporate a dinosaur-themed design into the surface. Perhaps they adore robots? You could build a desk with robotic arms as legs or add a robot face to the front. The possibilities are endless!
Choosing the Right Size
First, consider your child’s age and size. A toddler will need a smaller desk than a school-aged child. Measure the space where you’ll place the desk, ensuring there's enough room for your child to work comfortably.
Adding Fun Features
Think about features that will enhance the playfulness of the desk:
- Built-in storage compartments: Integrate drawers, shelves, or cubbies to help organize art supplies, books, or toys.
- Secret compartments: Create a hidden storage space for treasures or special items.
- Unique legs: Replace standard legs with whimsical designs like animal legs, tree trunks, or even colorful blocks.
- Decorative elements: Add embellishments like cut-out shapes, painted details, or even embedded mosaic tiles.
Building the Desk
Now it’s time to bring your design to life! Follow these steps:
- Cut the wood: Use your saw to cut the wooden planks into the desired lengths for the desk top, legs, and any other components.
- Assemble the desk top: Glue and screw the wooden planks together to create a sturdy desk top. Use clamps to hold the planks securely during the gluing process.
- Construct the legs: Cut and assemble the legs according to your design. Remember to consider the desired height and stability of the desk.
- Attach the legs to the desk top: Securely attach the legs to the desk top using wood screws. Ensure the desk is balanced and sturdy before moving forward.
- Add any decorative features: If you’re incorporating unique designs, now’s the time to add them. Attach or create any desired embellishments.
- Sand the desk: Sand all surfaces of the desk thoroughly, starting with coarser grit sandpaper and gradually moving to finer grits, for a smooth finish.
- Finish the desk: If desired, paint, stain, or apply a protective finish to the desk. Let the finish dry completely before using the desk.
Time to Play!
Congratulations! You've successfully built a custom wooden desk for your children. As your little ones play, learn, and create, you can take pride in knowing that you crafted a desk that is not only practical but also a source of joy and wonder.

0 comments:
Post a Comment